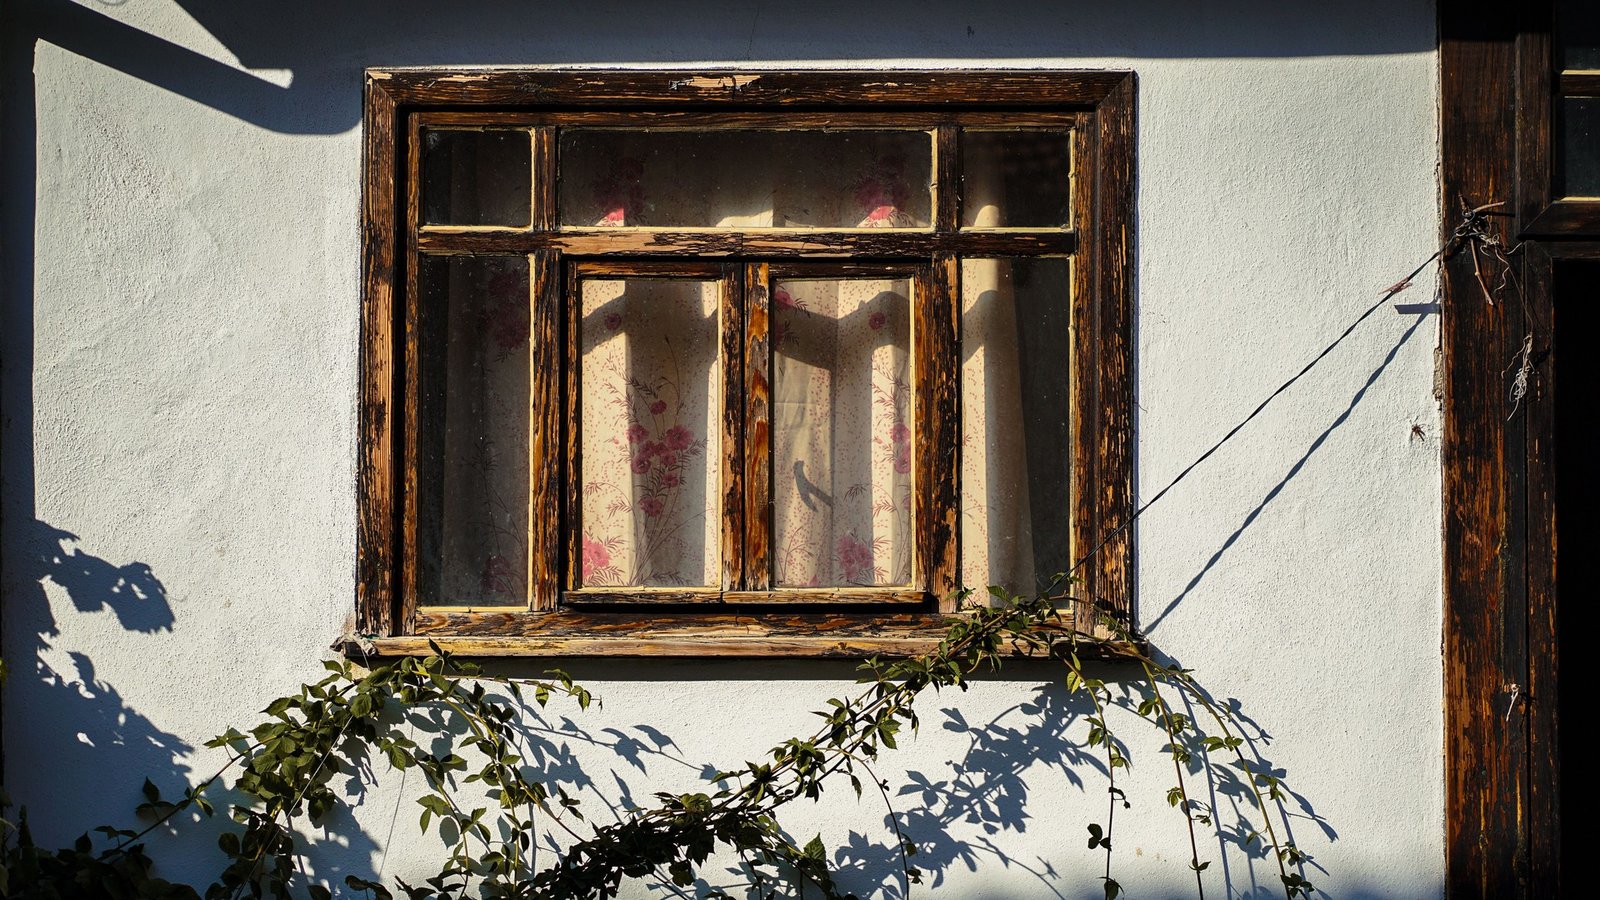
Easy old clinic window restoration guide for last minute starts with a calm look, not a hammer, because a rushed fix on an old sash can crack glass and turn a small job into a big one. I learned this on a morning in a clinic side room with a window that stuck every winter. My hands were cold, my patience was thin, and a check saved the glass.
Look at the Window Before You Touch It
I stand in front of the window and look at it for a full minute before I pick up a tool. I check the frame for soft wood, peeling paint, and dark stains that point to damp. I look at the glass for cracks, loose putty, and gaps where light shines through the edge. I try the sash gently, up and down, and I note where it sticks or rattles. I check the cords, the pulleys, and the lock, because a small fault often causes a big jam. I open and close the window slowly, and I listen for scraping, grinding, or a loose rattle. I take a photo of each fault with my phone, so I can check my work later. I note which side faces the weather, because that side wears fastest. I check the sill for water marks, and I feel the wood with a finger to find soft spots. If the frame feels spongy in several places, I stop and think about help. A slow look saves glass, and it saves time too.
Gather Simple Tools and Supplies
I lay out my tools on a clean cloth before I start, because hunting for a screwdriver with paint on my hands wastes time. I bring a utility knife, a small hammer, a flat screwdriver, a putty knife, and a stiff brush. I add sandpaper in two grades, a clean rag, a small tin of wood filler, and a tube of glazing putty. I bring rope caulk, self adhesive foam weatherstrip, and a small bottle of light oil for hinges and pulleys. I wear gloves and safety glasses, because old paint chips and glass splinters hurt fast. I keep a dustpan and a strong bag nearby, so I can clear debris as I work. I check that my ladder is steady if I need to reach a high window, and I ask someone to hold it. I keep my phone close, so I can look up a part number if I need it. Simple tools do most of this job, and I avoid buying a new gadget for a one off fix.
How Easy Old Clinic Window Restoration Guide for Last Minute Works When Time Is Short
I work in a clear order when time is short, and that order keeps me from fixing the wrong thing first. I free the sash, then I stop the rattle, then I seal the draft, and I leave paint until last. I set a timer for thirty minutes for the first window, because a deadline helps me focus. I clean as I go, so dust and paint chips do not jam the sash again. I test the window after each small fix, instead of waiting until the end to find a fault. I keep a small tray for screws and pins, because losing one in a clinic garden is a real pain. I write down what I fixed on a scrap of paper, so the next window goes faster. I stop if a pane cracks or a frame splits, because a quick fix can turn into a costly repair. I ask for help if the sash weighs more than I can lift safely. Short on time means I choose the fix that helps most, not the fix that looks best in a photo.

Free a Stuck Sash Without Force
I never force a stuck sash, because force cracks glass and splits old wood. I run a utility knife along the paint line where the sash meets the frame, and I cut the seal gently. I tap a thin putty knife into the gap with light taps, and I work along the edge a little at a time. I spray a small amount of light oil onto the tracks, and I wait five minutes for it to soak in. I push the sash up with both hands, evenly, and I stop if it binds on one side. I check for a swollen spot on the wood, and I sand that spot lightly with coarse sandpaper. I wipe the dust away, and I try the sash again. I repeat the sanding in tiny amounts, because taking off too much wood leaves a rattling gap. I rub a candle along the track when the sash moves freely, because wax helps it slide. I test the sash three times before I move on, and I smile when it glides.
Stop Rattles With Felt and Putty
I hate a rattling window, because it keeps a clinic room feeling cold and unloved. I press a finger against the glass and the frame to find where the movement comes from. I check the glazing putty first, because old putty dries, cracks, and lets the pane wobble. I scrape out loose putty with a putty knife, and I brush the gap clean. I roll a thin rope of new putty in my hands, and I press it into the gap with the knife. I smooth the putty at a slight angle, so rain runs off instead of pooling. I add small felt pads where the sash meets the frame, because felt stops wood knocking on wood. Easy old clinic window restoration guide for last minute often works best with felt, because it is cheap and quick to fit. I test the window by tapping the glass lightly, and I listen for a solid sound. I leave the putty to firm up for a day before I paint over it.
Seal Drafts With Rope Caulk and Weatherstrip
I seal drafts last in the frame, because a sealed window that will not open is worse than a draughty one. I hold a lit candle near the frame on a still day, and I watch the flame flicker to find the leak. I press rope caulk into the gap with my thumb, and I smooth it with a damp finger. I fit self adhesive foam weatherstrip along the top and sides, and I press it firmly for a full minute. I close the sash and check the seal by sliding a piece of paper through the gap. If the paper slides easily, I add another thin strip. I avoid sealing the bottom rail too tightly, because a window needs a little air to breathe. I check the outside for gaps in the frame, and I fill those with exterior filler. I paint over the filler when it dries, so rain does not wash it out. A sealed window feels warmer at once, and the room smells less damp.
Check the Sill and Outside Frame
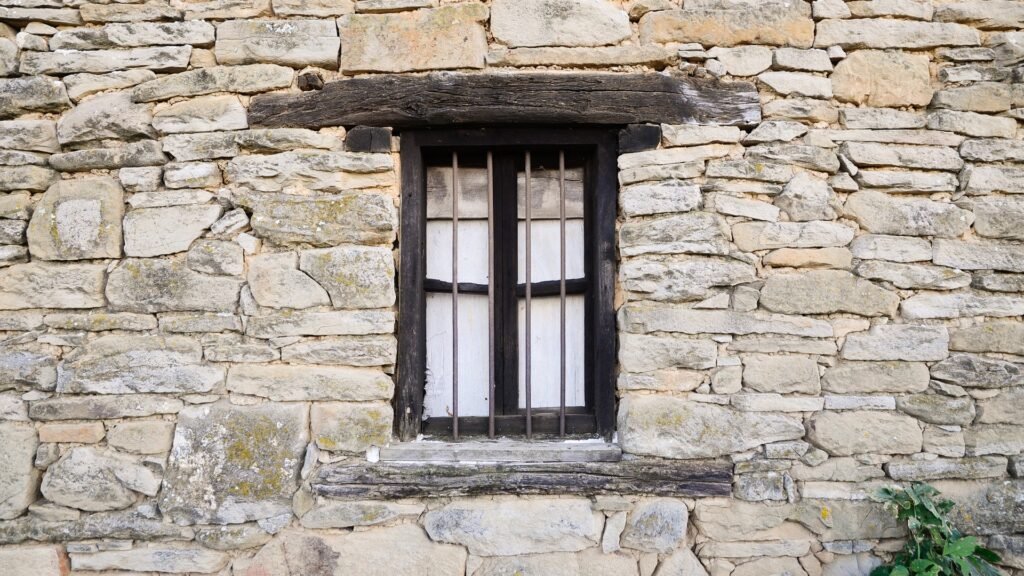
Rain hits the sill and the outside frame first, so I check them before I call a window done. I look at the sill for cracks, soft wood, and paint that peels in sheets. I press the wood with a screwdriver tip, gently, and I note any spot that sinks easily. I clear leaves, moss, and dirt from the sill, because wet debris holds damp against the wood. I check the joints where the frame meets the wall, and I look for gaps that let rain in. I fill small gaps with exterior filler, and I smooth it with a damp finger. I check the drip groove under the sill, because a blocked groove lets water run back into the wall. I clean the groove with an old toothbrush, and I rinse it with a little water. I look at the outside paint, and I note any bare wood that needs primer soon. I take a photo of the outside frame, so I can compare it after winter. A sound sill protects the whole window, and it costs little to keep it sound.
Clean and Oil Hinges, Locks, and Pulleys
I clean the moving parts before I oil them, because oil on dirt just makes a gritty paste. I brush dust from the hinges, the lock, and the pulley wheels with a stiff brush. I wipe each part with a rag dampened with warm soapy water, and I dry it fully. I put one drop of light oil on each hinge pin, and I open and close the window several times to spread it. I oil the lock mechanism sparingly, because too much oil drips onto the sill and stains paint. I check the sash cords for fraying, and I note any cord that looks thin or worn. Easy old clinic window restoration guide for last minute still needs care with cords, because a snapped cord drops a heavy sash fast. I replace a frayed cord only if I feel confident, and I ask a joiner if I do not. I test the lock after oiling, and I make sure it clicks shut firmly. Smooth parts make an old window feel new again.
Touch Up Paint and Protect Bare Wood
I protect bare wood at once, because bare wood soaks up rain and rots fast. I sand the bare patch lightly, and I brush away the dust with a clean rag. I apply a thin coat of primer, and I let it dry fully before I add paint. I use a small brush for the frame, because a big brush leaves drips on the glass. I paint in thin coats, and I wipe any paint off the glass while it is still wet. I match the old colour as closely as I can, because a bright patch looks careless. I check the paint tin for the right type, because interior paint peels fast outside. I leave the window open slightly while the paint dries, so it does not stick shut. I clean the brush well after use, because a ruined brush costs money. A neat paint job protects the wood for years, and it makes the whole window look cared for.

Replace a Cracked Pane Safely
I treat a cracked pane with respect, because a small crack can spread with one wrong move. I tape over the crack in a cross pattern, so the glass holds together while I work. I wear thick gloves and safety glasses, and I lay an old sheet below the window to catch shards. I remove the old putty carefully with a putty knife, and I lift out the broken pieces one at a time. I measure the opening twice, and I ask the glazier to cut the new pane a fraction smaller. I bed the new pane in a thin layer of putty, and I press it gently into place. I fix it with small glazing pins, and I smooth fresh putty around the edge. I clean the glass with a damp cloth, and I check the pane for wobble. If the crack is large or the frame is rotten, I call a glazier instead of risking a cut. Safety comes first, every time.
Keep Spare Parts in a Small Box
A small box of spares turns a last minute fix into a quick job, not a trip to the shops. I keep spare glazing pins, a tube of putty, a roll of rope caulk, and a few felt pads in a labelled box. I add spare screws in two sizes, a small tin of wood filler, and a spare sash cord if I have one. I keep a spare lock screw and a few washers, because small parts vanish fast in a busy clinic. I label the box clearly, and I store it near the windows, not in a distant shed. I check the box every season, and I replace anything I used. I write the window size on a card inside the box, so I can order glass without measuring again. I keep the receipt for putty and paint, because the shade name helps me match it later. I show a colleague where the box lives, so someone else can help if I am away. A tidy box saves time, and it keeps a small fault from turning into a long wait.
Do a Final Check and a Weekly Look
I do a final check before I pack my tools away, because a missed fault wastes the whole job. I open and close the window three times, and I listen for rattles or scraping. I check the lock, the seal, and the paint, and I look for drips on the sill. I wipe the glass clean, and I stand back to see the window as a visitor would. I write down what I fixed and the date, so I can track wear over time. Easy old clinic window restoration guide for last minute only helps if I repeat the check, so I set a weekly reminder. I look at the windows every Monday, torch in hand, and I check the usual damp corners first. I oil a stiff hinge early, before it sticks again. I clear leaves from the sill, because wet leaves hold damp against the wood. I feel proud when an old window glides, seals, and looks cared for.
FAQs
Can I restore an old clinic window in one afternoon?
Yes, you can fix a stuck sash, a rattle, and a draft in one afternoon if the frame is sound. Work in order, free the sash first, then seal drafts, and leave paint until last. Stop and call a joiner if the wood is soft, the glass is cracked badly, or the sash cord snaps.
What tools do I need for a last minute window fix?
You need a utility knife, a putty knife, a screwdriver, sandpaper, glazing putty, rope caulk, weatherstrip, light oil, gloves, and safety glasses. Most of these cost little and fit in a small toolbox. Borrow a ladder if you need one, and keep a dustpan nearby for debris.
How do I stop a window rattling without replacing it?
Check the glazing putty first, because loose putty lets the pane wobble. Scrape out loose putty, press in fresh putty, and add felt pads where the sash meets the frame. Test the window by tapping the glass lightly. If it still rattles, check the sash cords and the lock for wear.
Is it safe to fix a window if I have never done it before?
Yes, it is safe for small jobs like freeing a stuck sash, sealing a draft, and touching up paint. Wear gloves and glasses, work slowly, and never force a sash. Call a professional for a cracked pane, a rotten frame, or a heavy sash that you cannot lift safely alone.
How do I keep a restored window working well?
Check the window weekly, oil hinges early, and clear leaves from the sill. Repaint bare wood promptly, and replace worn weatherstrip each autumn. Keep a small notebook of fixes and dates, so you can spot wear before it turns into a costly repair.
Conclusion
I restored our old clinic windows one slow step at a time, and each one now opens, seals, and looks cared for. A sharp knife, a little putty, and a calm check did more than force ever could. Which window will you check first this week?