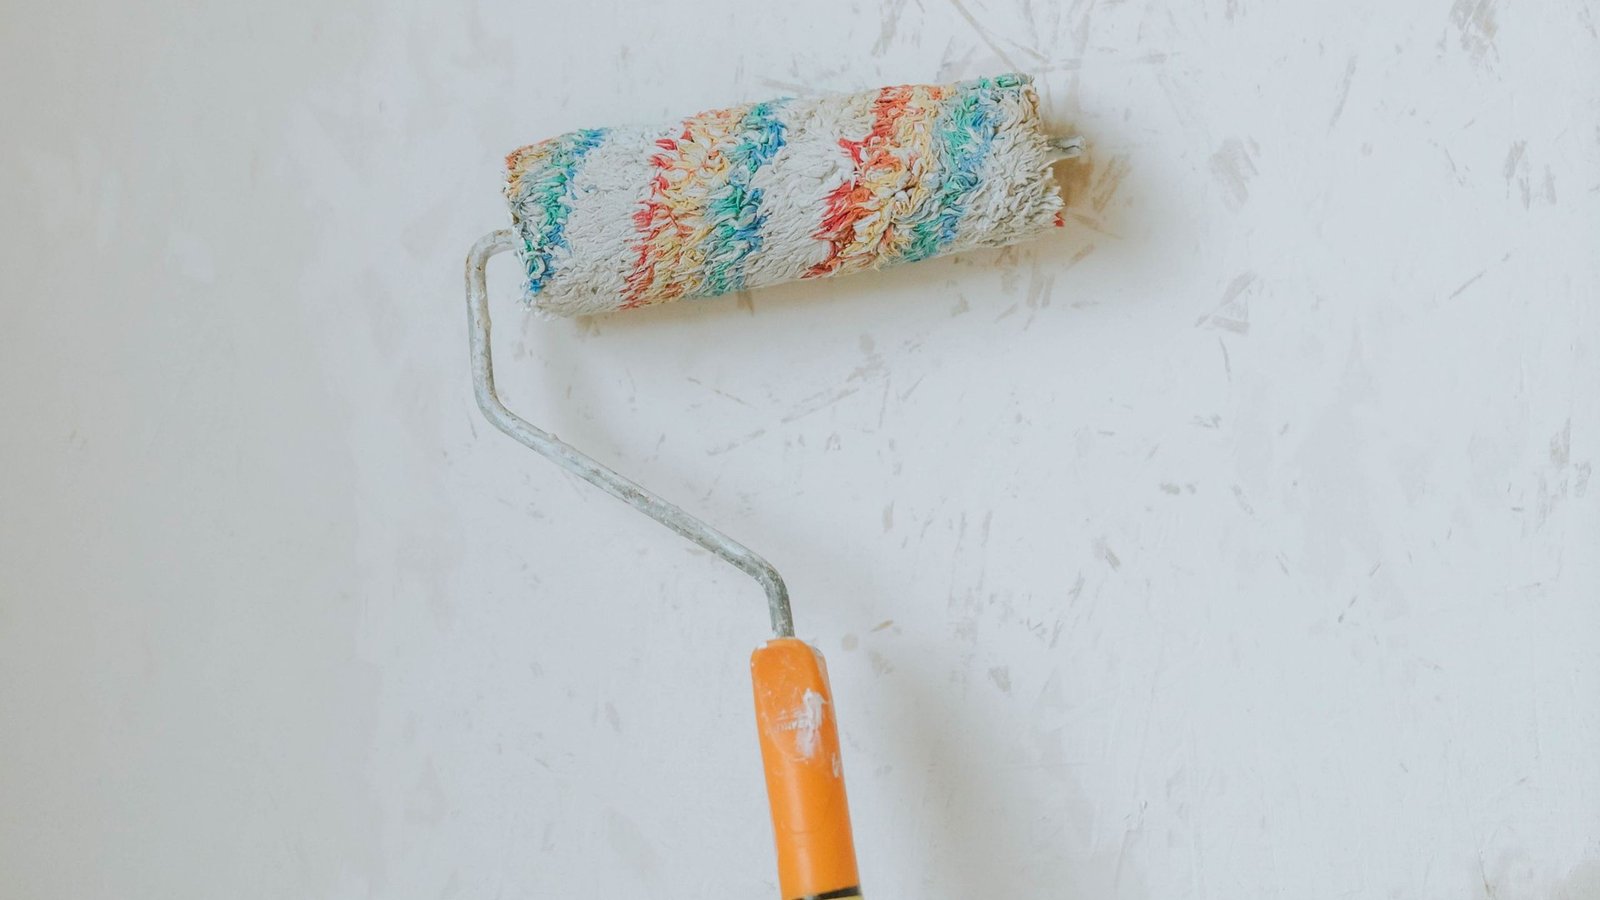
Finding affordable old clinic wall repair tips for single parents helped me stop staring at the cracked plaster in our converted clinic space and start fixing it one small patch at a time. I had little money, less free time, and a kid who wanted to help with everything. The paint was peeling near the old exam room, and every contractor quote made my stomach drop.

Assess the Damage Before You Buy Anything
Walk through each room with a notebook and a pencil, and mark every hole, crack, stain, and soft spot with a small piece of painter’s tape. Press gently on bubbled paint and crumbling plaster to see whether the surface feels solid or gives way under your finger. Note the size of each problem in inches, because a nail hole needs a different fix than a fist-sized dent. Take photos in daylight so you can compare the before and after, and so you remember which wall had the water stain near the ceiling. Check for dampness, musty smells, and dark spots, since paint will not stick to a wall that is still wet. Find the source of any leak first, even if that means calling a plumber for one visit, because patching over moisture wastes time and money. Sort the repairs into three groups: quick fixes you can do tonight, medium jobs for the weekend, and bigger problems that need a professional. This simple sorting step keeps you from buying the wrong supplies or starting a large repair when you only have forty minutes. Photograph the worst areas after marking them, because a clear record helps at the store and tracks progress over several weekends.
affordable old clinic wall repair tips for single parents begin with a safety check
Old clinic buildings often hide lead paint under newer layers, especially around trim, doors, and window frames built before 1978. Buy a 3M LeadCheck swab kit from Home Depot or Lowe’s before you sand or scrape anything, and follow the packet directions exactly. If the test shows lead, stop sanding, keep the area damp while you work, and call your local health department for safe cleanup guidance. Wear an N95 mask, safety glasses, and gloves when you scrape old paint or cut into plaster, because fine dust gets everywhere fast. Keep children and pets out of the room until you have vacuumed with a HEPA vacuum and wiped surfaces with a damp cloth. Open a window for fresh air, but close the door to the rest of the house so dust does not travel. Put drop cloths over floors and furniture, and bag debris right away instead of leaving it in a pile. A careful safety check takes twenty minutes, and it protects your lungs, your kids, and your budget from a much bigger cleanup later. Keep the test kit packaging with the date written on it, so you know which rooms you tested.
Gather Tools and Supplies on a Tight Budget
A small repair kit costs far less than most people expect, and you can reuse almost everything on the next wall. Start with a flexible putty knife, a 5-in-1 painter’s tool, a sanding sponge in 120 grit, painter’s tape, a drop cloth, and a small tub of DAP DryDex spackling paste, which turns white when it is dry enough to sand. Add a quart of Zinsser Bulls Eye 1-2-3 primer for stains and bare plaster, plus a quart of Behr Premium Plus interior paint in a finish that matches the room. Borrow a step ladder from a neighbor if you do not own one, and check the paint aisle for mistinted cans, which stores often sell for a few dollars. Buy only what matches your repair list, and skip fancy gadgets until you know you will use them twice. A small plastic organizer keeps screws, anchors, and sanding sponges together, so you spend evenings repairing instead of searching drawers.
- Flexible putty knife and 5-in-1 painter’s tool for scraping and spreading
- DAP DryDex spackling paste, sanding sponge, and painter’s tape for neat patches
- Zinsser primer, Behr paint, drop cloth, N95 mask, and safety glasses for finishing
Patch Small Holes and Dents Without a Mess
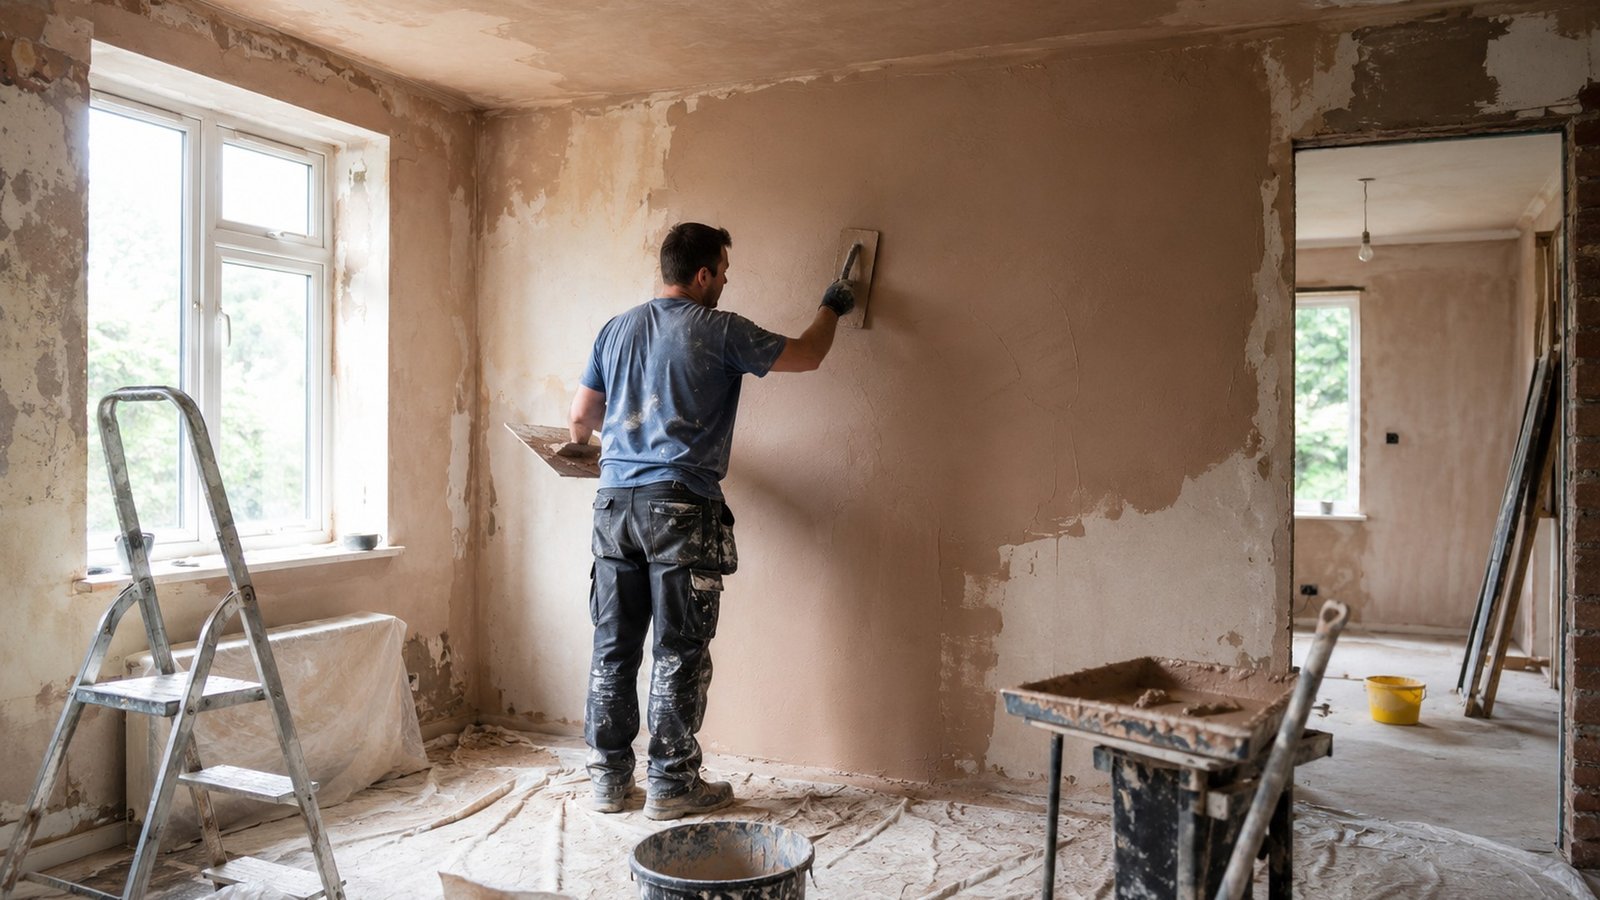
Small nail holes and dents look worse than they are, and most of them disappear with spackling paste and ten minutes of patience. Scoop a pea-sized amount of DAP DryDex onto your putty knife, press it firmly into the hole, and scrape off the extra in one smooth pass. Hold the knife almost flat against the wall so the patch stays thin, because a thick blob takes longer to dry and needs more sanding later. Let the paste dry until it turns fully white, then sand it lightly with a 120-grit sanding sponge using small circles. Wipe the dust away with a barely damp cloth, and run your hand over the spot to feel for ridges or dips. If you can still feel the edge, add a second thin layer instead of piling on more paste the first time. For holes wider than a coin, press a self-adhesive mesh patch over the opening first, then spread paste over the mesh in thin coats. The common mistake is rushing the drying time, so set a timer and walk away while the patch cures. A second thin application usually produces a smoother surface than one thick layer.
Fix Cracks in Old Plaster the Right Way
Old plaster cracks when a building settles, and filling the line with paint alone will not hold it for long. Scrape out loose plaster along the crack with a 5-in-1 tool, then brush away dust so the filler can grip the edges. Press a thin bead of paintable acrylic caulk into hairline cracks, smooth it with a damp finger, and let it dry before you paint. For wider cracks, cut a V shape along the line with a utility knife, which gives the patching compound more surface to hold onto. Fill the groove with setting-type joint compound in thin layers, letting each layer dry before you add the next one. Sand the final layer flat, then prime the spot so the paint does not flash, or show a dull patch, over the repair. Keep the room at a normal temperature while the compound dries, because cold air slows curing and can cause new cracks. A patient, layered repair lasts far longer than one thick fill, and it keeps the character of the old plaster intact. Label the compound container with the opening date, because old material can harden in the tub and waste your money.
Sand, Prime, and Paint for a Smooth Finish
Sanding feels boring, yet it decides whether your repair blends in or stands out like a sore thumb. Use a sanding sponge instead of loose sandpaper, because the sponge follows slight curves in old walls and is easier to hold. Sand in light, even strokes, and stop often to check the surface with your palm, since your hand finds bumps your eyes miss. Vacuum the dust, wipe the wall with a damp cloth, and let it dry fully before you open the primer. Brush Zinsser primer over every patched spot and stain, and extend it a few inches past the repair so the edges feather into the old paint. Let the primer dry for the time printed on the can, even if the surface looks dry sooner. Roll Behr paint in a W pattern, work in small sections, and keep a wet edge so you do not leave lap marks. Two thin coats always look better than one heavy coat, and they dry faster between school pickup and bedtime. Stir the paint thoroughly before each coat, because pigment settles at the bottom and an unstirred can leaves uneven color across the repaired surface.

Match Texture and Paint in Older Rooms
Matching an old wall takes a little detective work, and a close match beats a perfect product every time. Peel a small paint chip from a hidden spot, like behind a door, and take it to Home Depot or Lowe’s for a free color match. Test the sample on the wall next to your repair, and look at it in daylight and at night, because clinic lighting can change how a color reads. For lightly textured plaster, dab thinned joint compound onto the patch with a sponge, then knock it down gently with your putty knife once it starts to set. Practice the texture on a scrap piece of cardboard first, since it is easier to fix a mistake there than on the wall. Paint the whole wall, corner to corner, if the color match is close but not exact, because the eye notices a patch far less on a full wall. Keep the leftover paint in a labeled jar with the room name and date, so the next touch-up takes minutes instead of another store trip. Store that jar upright in a cool cupboard away from freezing temperatures, because frozen paint separates and becomes useless for future touch-ups.
Work in Short Bursts Around Your Kids
Kids love a project, but a repair zone needs clear rules so nobody gets hurt or covered in paint. Set up the work area after dinner, when you have a solid hour, and stop at a natural break point instead of pushing through exhaustion. Give your child a safe job away from dust and tools, like holding the painter’s tape, sorting supplies, or painting a scrap board with leftover paint. Keep putty knives, utility blades, and open paint cans on a high shelf or in a closed toolbox when you step away, even for a minute. Cover the floor with a drop cloth, tape it at the edges, and put shoes by the door so wet paint does not travel through the house. Work with the window open and the room door closed, and wash hands and faces before snacks. A short, calm session teaches your kid that fixing things takes patience, and it keeps the project moving without turning your evening into a stressful marathon. Celebrate each finished patch together, because a small visible win keeps everyone motivated for the next repair.
Keep Repaired Walls Strong for Years
Once the paint dries, a few small habits protect your work and save you from doing the same repair twice. Put felt pads under furniture that sits against the wall, and move heavy items slowly so corners do not get dented again. Hang pictures with proper wall anchors instead of large nails, especially in old plaster that crumbles around a loose fastener. Wipe scuffs with a damp cloth and a drop of mild dish soap, and touch up paint chips right away before moisture gets underneath. Check the walls near sinks, windows, and exterior doors each season for peeling paint or damp spots, because small leaks turn into big repairs fast. Keep a small box with leftover paint, spackling paste, a putty knife, and sanding sponges in a closet, so a new dent takes fifteen minutes instead of a weekend. These affordable old clinic wall repair tips for single parents work especially well when the supplies stay organized and ready, because a prepared household fixes small damage before it becomes an expensive problem. Your walls will not stay perfect forever, but steady care keeps them looking neat and lived in.
FAQs
How much does it cost to repair walls in an old clinic building?
Most small repairs cost between 25 and 80 dollars in supplies if you already own a putty knife and a brush. A quart of primer, a quart of paint, spackling paste, and sanding sponges cover several rooms. Borrow a ladder and buy mistinted paint when you can, and the total stays low. Keep your receipts to track spending.
What is the safest way to handle old plaster dust?
Wear an N95 mask, safety glasses, and gloves, and keep the work area damp while you scrape or sand. Close the room door, open a window, and keep children out until you vacuum with a HEPA vacuum and wipe surfaces. Test for lead paint first, and follow local rules if the result is positive. Wash work clothes separately afterward.
Can I patch a wall in one evening after work?
Yes, you can finish small holes and hairline cracks in one evening if the damage is minor. Apply thin coats, let each layer dry fully, and save painting for the next night if you run out of time. Rushing wet paste or paint leads to bumps, peeling, and a second repair. Keep the room ventilated overnight.
What affordable wall repair tips work best for single parents in an old clinic?
These affordable old clinic wall repair tips for single parents start with a safety check and the smallest repairs first. Build up to larger patches as your confidence grows, work in short sessions, and keep supplies in one box. Buy only what your repair list needs, because simple tools, thin coats, and primer make the biggest difference.
When should I call a professional instead of fixing it myself?
Call a professional for sagging ceilings, large areas of loose plaster, active water leaks, mold, or a positive lead test that needs certified cleanup. Structural cracks, soft floors near a wall, and electrical work behind plaster also belong to a licensed pro. Your safety matters more than saving money. Ask for a written estimate first.
Conclusion
You can fix these walls a little at a time, with simple tools, honest prep, and short sessions that fit real life. These affordable old clinic wall repair tips for single parents work best when safety comes first and patience does the heavy lifting. Start with one small patch tonight, and let that finished spot remind you that the whole house is within reach.